A Practical Guide To A Kitchen Knife Routine That Makes Prep Less Tiring
A practical step-by-step guide to a practical guide to a kitchen knife routine that makes prep less tiring, including preparation, instructions, common issues, tips, and next steps.
A Practical Guide To A Kitchen Knife Routine That Makes Prep Less Tiring
This guide outlines a step-by-step kitchen knife routine that reduces fatigue during food preparation. By focusing on grip, stance, blade angle, and cutting techniques, you can work more efficiently and with less strain. The routine includes preparation, core steps, quick reference tips, common issues, and advanced strategies to refine your skills.
Fast Answer
- Adopt a proper grip with your index finger and thumb pinching the blade's heel, and wrap your other fingers around the handle. This gives control and reduces hand fatigue.
- Use a sharp knife and let the blade's weight do the work, using a rocking motion with the tip staying on the board. This minimizes force and strain.
Before You Start
- Choose a knife that feels comfortable and balanced in your hand, and ensure it is sharp. A sharp knife requires less force and is safer.
- Set up a stable cutting board with a damp cloth or paper towel underneath to prevent slipping. This improves safety and reduces awkward adjustments.
- Position your body square to the cutting board, with your non-cutting hand in a claw grip to hold the food. This keeps your fingers safe and allows smooth movement.
- Gather all ingredients and tools before starting to avoid interruptions and keep a steady rhythm. This reduces wasted motion and keeps your focus.
Step-by-Step Instructions
Establish a Balanced Stance and Grip
Stand with your feet shoulder-width apart, facing the cutting board, with your non-dominant foot slightly forward. This gives you a stable base and allows your body to move naturally as you cut. Hold the knife with your dominant hand: pinch the blade just above the handle between your thumb and index finger, and wrap your other fingers around the handle. This grip, often called the pinch grip, gives you precise control and keeps your wrist in a neutral position. Many people hold the knife too far back, which reduces control and forces the wrist to work harder. Check that your wrist is straight and your elbow is relaxed at your side. This stance and grip prevent unnecessary muscle tension in your shoulder and forearm, which is the first step to reducing fatigue during long prep sessions.
Maintain a Proper Cutting Board Setup
Place a damp paper towel or a non-slip mat under your cutting board to keep it from sliding. A stable board is essential for safe and efficient cutting; if the board moves, you will need to use extra force to hold it, which tires your arms and can cause accidents. Choose a board that is large enough to hold the ingredients you are working with, and have a separate area for prepared food. Position the board so that it is about elbow height; if it is too low, you will hunch, and if too high, you will raise your shoulders. Check that the board does not wobble when you press on it. A stable, well-positioned board allows you to cut with your whole arm, not just your wrist, which distributes the effort and reduces fatigue.
Use the Claw Grip for Your Guide Hand
Curl your non-dominant hand into a claw shape, with your fingertips tucked under and your knuckles facing forward. Use your knuckles to guide the blade and press on the food to hold it steady. The claw grip keeps your fingertips safe because the blade slides along your knuckles, never touching your fingers. This is a fundamental technique that allows you to cut quickly without fear of injury. Move your hand backward progressively as you cut, keeping the same distance from the blade for even slices. Check that your thumb is tucked behind your fingers, not sticking out, because a protruding thumb is vulnerable. This grip also gives you control over the food, so you do not have to chase it or use excess force. It may feel awkward at first, but practice will make it natural.
Master the Rocking Motion
Hold the knife with the tip resting on the cutting board, and rock the blade back and forth, using the tip as a pivot point. This motion is efficient for herbs, vegetables, and other ingredients because it uses a continuous, fluid movement without lifting the knife completely. To execute, press down gently on the blade while moving it forward and backward, allowing the blade's curvature to do the cutting. Do not apply heavy downward force; let the weight of the knife and its sharp edge slice through the food. Check that the tip remains in contact with the board throughout the stroke, which keeps the blade on a straight path and prevents accidental slips. This rocking motion reduces the number of times you need to lift and reposition the knife, which decreases arm fatigue and speeds up your prep.
Choose the Right Cutting Technique for Each Food
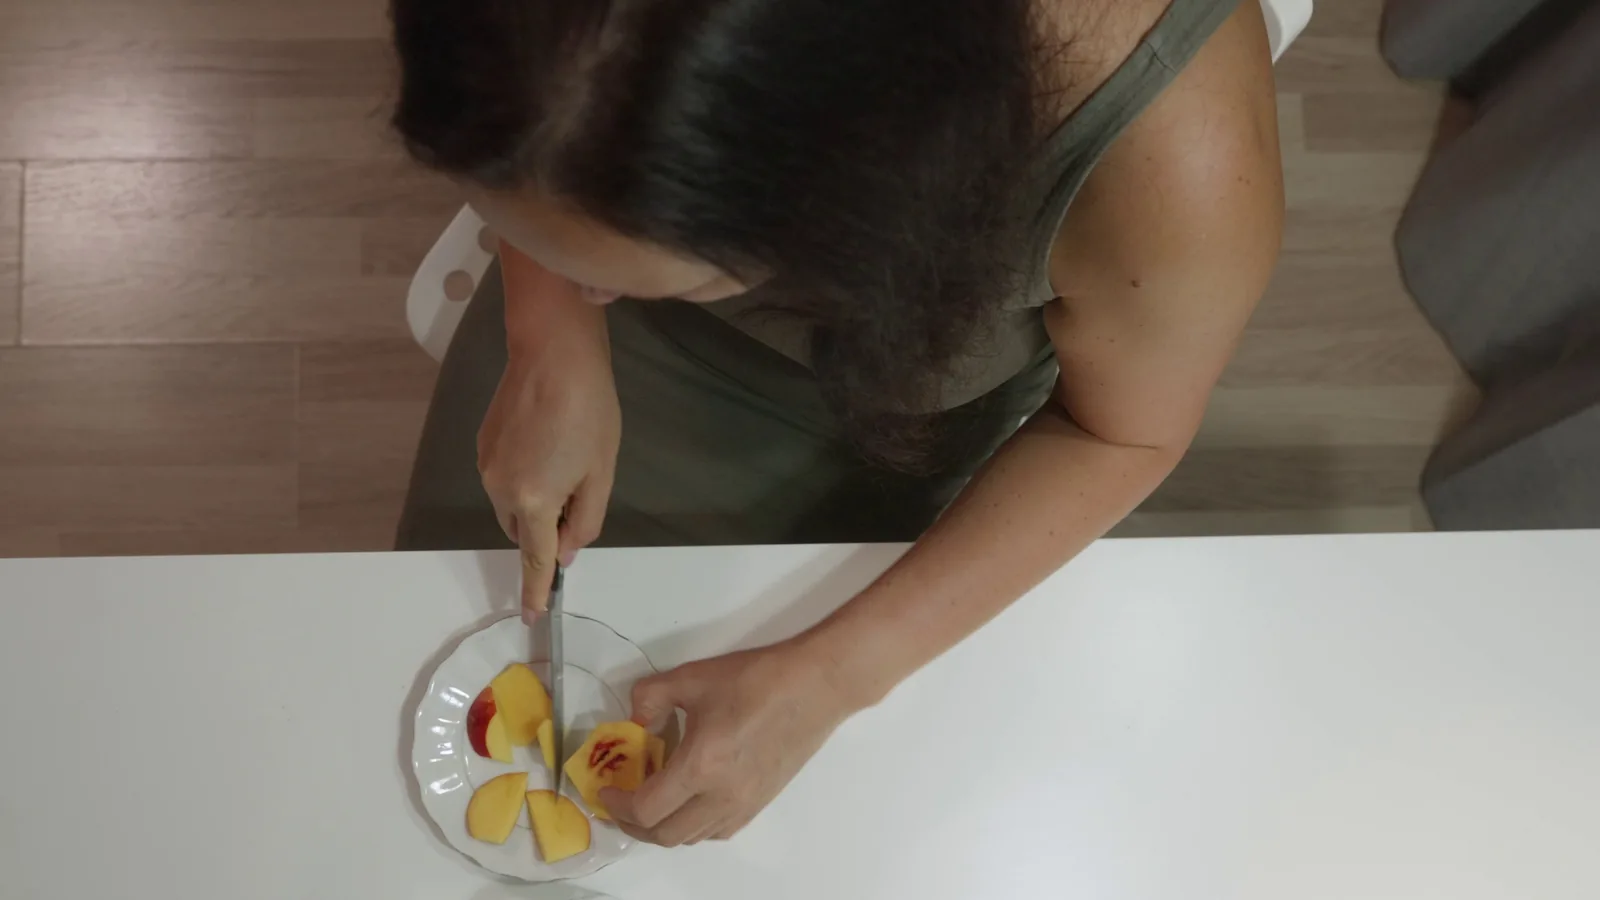
Select the cutting technique based on the food's shape and firmness. For round, hard vegetables like carrots or potatoes, first cut a slice off the side to create a stable flat surface, then slice, dice, or julienne using a claw grip. For soft items like tomatoes or bread, use a sawing motion with minimal pressure. For a batch of herbs, stack the leaves, roll them into a tight bundle, and slice thinly. Each technique is designed to minimize effort and maximize control. Check that you are using a smooth, continuous motion and not rushing. If you feel resistance, stop and check whether the blade is sharp enough. Using the appropriate technique reduces the force needed and prevents the food from slipping, which in turn reduces strain on your arm and wrist.
Establish a Rhythm and Take Short Rests
Work at a steady, moderate pace, and pause briefly every few minutes to shake out your hands and stretch your fingers. This prevents muscle fatigue and keeps your focus sharp. Notice your grip and let the knife do the work; if you are gripping tightly, relax. Intersperse tasks, such as chopping a large vegetable with slicing something smaller, to vary your movements. Check that you are not leaning too far over the board; keep your shoulders relaxed and your back straight. Taking short breaks, even for ten seconds, allows your muscles to recover and reduces the cumulative strain of a long prep session. Over time, you will learn to keep a natural rhythm that is efficient and comfortable.
Quick Reference
| Situation | Action | Why it helps |
|---|---|---|
| You are cutting a round onion and it keeps rolling. | Cut the onion in half from root to stem, place the flat side down, then make vertical and horizontal cuts before dicing. | Creating a flat, stable base prevents the onion from rolling and allows you to cut safely without holding it tightly, which reduces strain. |
| You are slicing a bunch of fresh basil and it slips around. | Stack the leaves, roll them tightly into a cylinder, and then slice the roll crosswise into thin ribbons. | Rolling the leaves creates a compact bundle that is easy to grip and cut, preventing slipping and promoting even, quick slices. |
| You are chopping a large butternut squash and it is tough to cut. | Use a sharp chef's knife, slice off the top and bottom, use a rocking motion, and if necessary, microwave the squash for 2 minutes to soften it slightly. | Softening the squash reduces the resistance, and a sharp knife with a rocking motion lets you cut through with less force, lowering fatigue. |
Common Issues
- The cutting board slides while cutting.: Place a damp paper towel, a non-slip mat, or a damp cloth underneath the board. Alternatively, you can use a board with a non-slip grip on the bottom. If it still slides, replace the board.
- The knife feels dull and requires extra force.: Regularly hone your knife with a honing rod and sharpen it with a whetstone or other sharpener when needed. A sharp knife is safer and requires less pressure. Test by slicing a ripe tomato; if it crushes rather than slices, it needs sharpening.
- Your hand cramps during long prep sessions.: Take frequent short breaks, stretch your fingers and wrist, and ensure you are using a relaxed grip. If cramps persist, consider a knife with a more ergonomic handle or a different grip style, such as the pinch grip or shake-hands grip.
Advanced Tips
- Store your knives in a block, on a magnetic strip, or in a blade guard to protect the edge and avoid accidents. Never store them loose in a drawer.
- Use a whetstone to sharpen your knife regularly; practice on a cheap knife until you feel comfortable. A keen edge reduces effort and improves consistency.
- Learn to use a pinch grip with both hands for tasks like mincing garlic, as it gives you ultimate control and reduces wrist movement.
Final Checklist
- Check that your knife is sharp and the cutting board is stable; am I using a comfortable grip?
- Position your body and board at a comfortable height; are my shoulders relaxed and wrist straight?
- Use the claw grip with your guide hand and rock the blade; is my non-cutting hand safe and is the knife moving smoothly?
- Pace yourself and take short rests; am I keeping a steady rhythm and not gripping too tightly?
FAQ
How often should I sharpen my knife?
Hone your knife before each use to maintain the edge. Depending on how often you use it, you should hone it every 2-3 uses and thoroughly sharpen it every few months. If you notice it requires more force or the cuts are not clean, sharpen it.
What is the best way to hold a chef's knife for maximum control?
Use the pinch grip: pinch the blade just above the handle with your thumb and index finger, and wrap your other fingers around the handle. This gives you precise control and reduces wrist strain. If that feels uncomfortable, try the 'shake hands' grip, but ensure your wrist is straight.
How can I prevent fatigue when chopping many vegetables at once?
Use a sharp knife and let it do the cutting. Maintain a relaxed grip and use a rocking motion. Set up your board at a comfortable height and take short breaks every 10 minutes. Also, use techniques like the claw grip to avoid unnecessary force and keep a steady rhythm.