Common Mistakes When Setting Up A Kitchen Knife Routine That Makes Prep Less Tiring
A practical step-by-step guide to common mistakes when setting up a kitchen knife routine that makes prep less tiring, including preparation, instructions, common issues, tips, and next steps.
Common Mistakes When Setting Up A Kitchen Knife Routine That Makes Prep Less Tiring
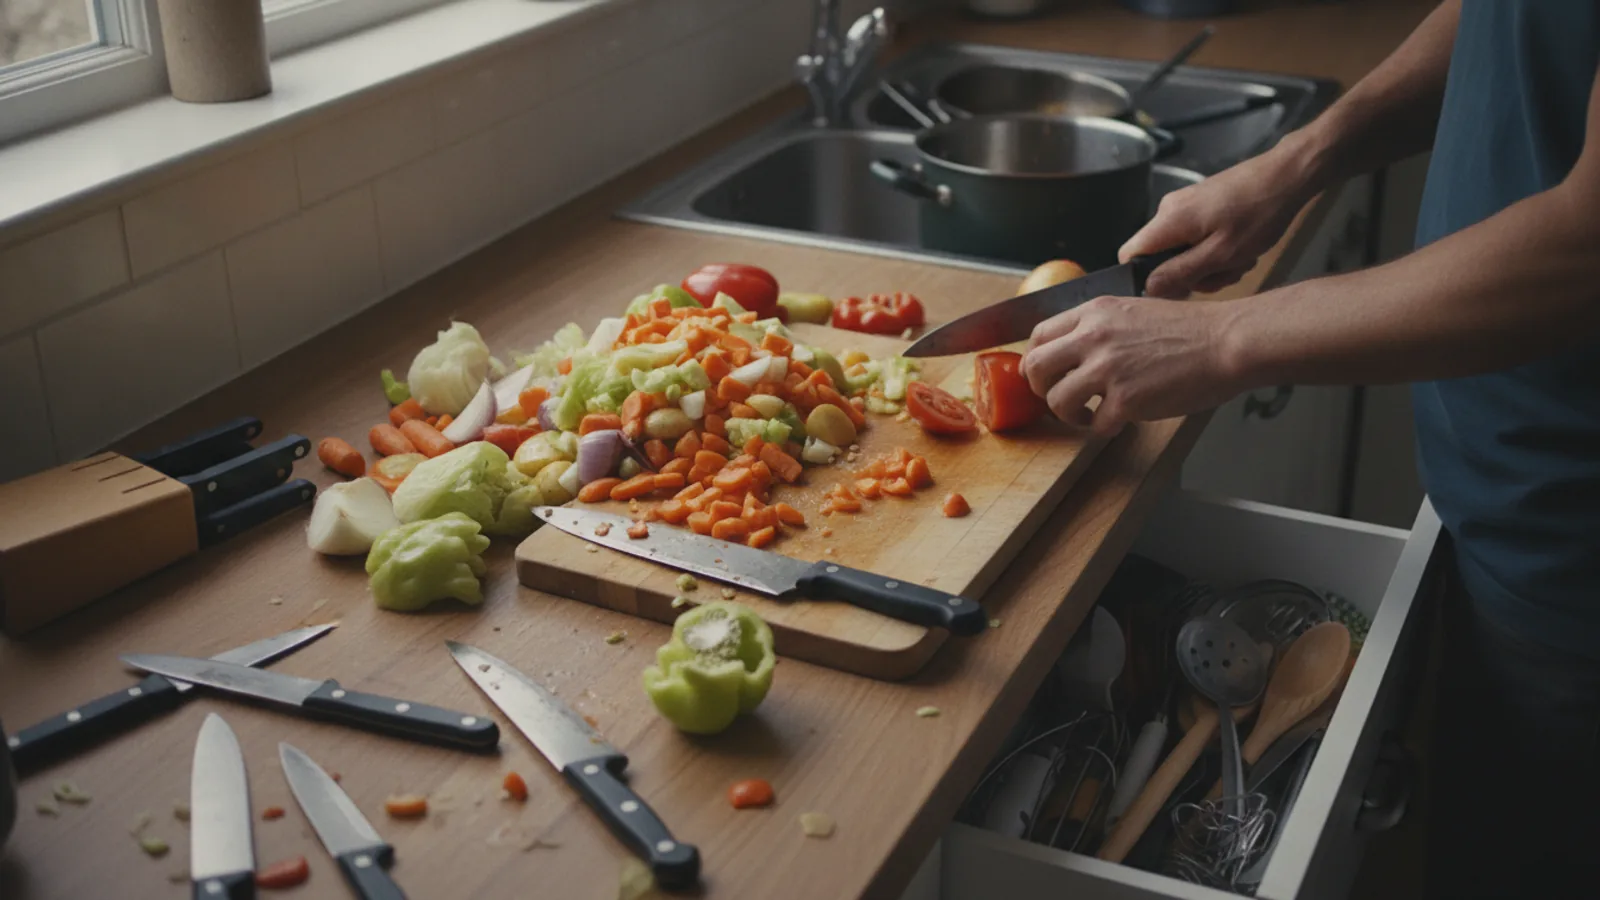
A kitchen knife routine should make food preparation feel lighter and more fluid, but common setup mistakes create extra strain, slow you down, and make every slice feel harder than it needs to. This guide walks through the frequent errors people make when organizing their knives, cutting boards, grip, and body position, and it shows how to correct them step by step. You will learn to set up your station for natural movement, keep your blade sharp with minimal effort, and use cutting techniques that reduce fatigue. The goal is a practical, repeatable routine that protects your joints, saves time, and makes cooking less tiring overall.
Fast Answer
- The biggest mistake is using a dull knife because it forces you to press harder, which strains your hand and shoulder; sharpen regularly with a honing rod and stone.
- Another common error is placing the cutting board too low or too far away, causing you to hunch and reach; set it at elbow height and close to your body.
Before You Start
- Choose a cutting board that is large enough to hold your ingredients without crowding, and place a damp cloth or non-slip mat underneath to prevent sliding.
- Set up your station so the cutting board is at elbow height, and position your dominant side slightly closer to the board to allow a straight wrist.
- Gather all ingredients and tools before you start, including a sharp knife, a honing rod, and a towel, so you do not break your rhythm.
- Take a moment to stretch your hands and wrists, and adjust your stance so your feet are shoulder-width apart for a stable base.
Step-by-Step Instructions
Position the Cutting Board at Elbow Height
Begin by adjusting your work surface so that the cutting board sits at the same height as your elbow when your arm is bent at a right angle. If your counter is too low, use a sturdy chopping board or a stack of heavy books to raise it; if it is too high, use a footstool to raise your body rather than raising your shoulder. This placement allows your forearm to remain parallel to the floor, which keeps your wrist straight and neutral. When you have to reach down or up, you engage shoulder and neck muscles that tire quickly. A simple check is to stand relaxed with your arms at your sides, then bend your elbows to 90 degrees; your fingertips should lightly touch the board. If you have to lift your shoulders or bend your back, adjust the height. This foundational step reduces fatigue dramatically because it lets the knife's weight and the motion of your elbow do the work, not your wrist.
Use a Sharp Knife and Hone It Often
Set up a regular sharpening routine with a whetstone every few weeks, and use a honing rod before each prep session to realign the blade's edge. A sharp knife cuts through food with minimal downward force, so you do not need to press hard, which spares your hand and arm. To test sharpness, gently rest the blade on a tomato's skin and draw it toward you; if it bites without pressure, it is ready. Hone at a consistent angle about 15 degrees on both sides, pulling the blade along the rod from heel to tip. Do not wait until cutting feels difficult, because by then you are already straining. A sharp blade also reduces the chance of slipping, which happens more often with dull knives that bounce off surfaces. This step is the most important fatigue saver, because each slice becomes a light, controlled motion rather than a forceful grind through food.
Grip the Knife with a Pinch Grip
Hold the knife by pinching the blade just above the handle with your thumb and index finger, while your other three fingers wrap around the handle. This grip gives you fine control because your fingertips feel the blade's movement, and it keeps your wrist aligned with your forearm. Avoid a fist grip, which forces you to use your whole arm and bends your wrist sideways. The pinch grip also helps you pivot the knife from the tip for chopping, so you use a rocking motion from your shoulder and elbow instead of a chopping hack. To practice, hold the knife as if it were a pencil, then rotate it slightly so your hand rests on top. Check that your wrist is straight when you cut—not bent up, down, or sideways—and that your thumb is not pressing painfully on the spine. This grip reduces cramping because it distributes force across your palm and fingers.
Place the Cutting Board Close to Your Body
Slide the cutting board so it sits directly in front of your torso, with the front edge touching the counter's edge, and stand about a hand's width away. This position keeps your elbows at your sides and your forearms angled slightly downward, allowing you to cut with a vertical motion rather than reaching forward. If the board is too far, you end up leaning and stretching your back and shoulders. A close board also keeps the food you are cutting in your natural field of view, so you do not have to bend your neck. Check that your elbows are bent at about 90 degrees and your shoulders are relaxed; you should not feel any tension in your upper traps. If you find yourself moving the board away intermittently, use a non-slip mat to hold it in place. This simple adjustment eliminates back strain and lets your arm muscles work efficiently.
Alternate Cutting Techniques to Rest Muscles
Rotate between different cutting motions throughout your prep—such as rocking with a chef's knife, slicing with a straight draw, and mincing with a controlled chop—rather than using one repetitive motion for everything. For example, dice an onion with a rock-chop, then switch to a slicing motion for carrots, then use a claw-grip and rocking for herbs. This variety prevents overuse of the same muscle groups and reduces monotony. When you use a single technique, you tend to keep your hand and wrist in the same position, which leads to fatigue and stiffness. Plan your prep order so that you switch tasks every few minutes; for instance, chop hard vegetables, then softer ones, then garnish. This also keeps your mind alert and reduces mental tiredness. The key is to change your hand's angle and the knife's motion intermittently.
Take Micro-Breaks and Stretch Your Hands
After every 10 to 15 minutes of continuous cutting, set the knife down and stretch your hands, wrists, and forearms for about 30 seconds. Extend your arm with your palm up, gently pull your fingers toward the floor, then turn your palm down and repeat. Also do a shoulder roll and a neck tilt to release upper-body tension. These micro-breaks interrupt the accumulation of strain and improve blood flow, so you can maintain a steady pace without crashing. Many cooks ignore early signs of fatigue until they feel a dull ache, but a preventative break is easy to add. Set a timer on a quiet kitchen device or use a phone alarm with a gentle vibration. During the break, also check your posture; you may have hunched forward without noticing. This habit preserves your energy for the long haul.
Quick Reference
| Situation | Action | Why it helps |
|---|---|---|
| Your knife slips off a tomato because it is dull. | Immediately stop and use a honing rod to realign the edge; if that does not help, switch to a backup sharp knife. | A dull blade slips because it does not bite, so you lose control and have to press harder, increasing injury risk and fatigue. |
| Your neck and shoulders ache after prepping carrots for five minutes. | Raise your cutting board by placing a sturdy object underneath until it reaches your elbow height. | A low board forces you to hunch forward, straining your upper back and shoulders, so a proper height keeps your spine aligned. |
| Your hand feels cramped and tired after chopping an onion. | Loosen your grip and switch to a pinch grip, positioning your index finger and thumb on the blade's spine. | A tight fist grip overworks your forearm muscles, while a pinch grip transfers force to the wrist and reduces cramping. |
Common Issues
- Tears and stinging eyes when cutting onions.: Chill the onion in the fridge for 15 minutes before cutting, cut it near a vent or fan, and use a sharp knife to minimize crushing cells that release the irritant gas.
- Food slides around on the cutting board, causing you to slow down.: Place a damp paper towel or a non-slip mat under the board to keep it stationary, and make sure the board itself is dry and stable on your counter.
- You lose your rhythm because you have to stop to wash the knife between ingredients.: Use a damp cloth to wipe the blade between ingredients, and organize your prep order from least sticky to most sticky, or have a bowl of water to dip the knife.
Advanced Tips
- Learn the 'push cut' where you slice by moving the knife forward and slightly downward in one fluid motion; this reduces friction and is ideal for long, straight cuts.
- Use two cutting boards: one for vegetables and one for fruits, and alternate them by mid-session to give the first a chance to air dry and avoid cross-contamination.
- Practice 'silent chopping'—cut so that the blade does not make clacking sounds on the board—which forces you to use a smooth, controlled motion that is gentler on your hand.
Final Checklist
- Check that the cutting board is at elbow height and positioned close enough to avoid reaching.
- Verify your knife is sharp by testing on a tomato or paper, and hone it if needed.
- Grip the knife with the pinch grip and ensure your wrist is straight while cutting.
- Plan to take a 30-second stretch break every 10–15 minutes during long prep sessions.
FAQ
How often should I sharpen my kitchen knife?
The frequency depends on how often you cook and what you cut, but a good rule is to use a whetstone every 2–3 months for regular home use. In between, run the blade on a honing rod before each session to keep the edge aligned. If you cut through bones or frozen foods, sharpen more often because the edge wears faster. A simple test is to see if a knife can slice a piece of paper cleanly; if it tears, it needs sharpening. Many home cooks wait too long, which leads to dull knives and unnecessary strain, so err on the side of more frequent maintenance.
Is there a best cutting board material to reduce fatigue?
The material influences how much the board absorbs impact and how much the blade bounces, which affects fatigue. Wooden or composite boards are generally gentler on the blade and absorb some shock, reducing pressure on your hand. Plastic boards are lighter and easier to handle, but they can be harder on the edge. A softer surface like rubber or thick plastic tends to dampen vibration. Choose a board that is stable and non-slip, and make sure it is large enough to work on. The most important thing is that the board does not slip and is at the right height, because that has a bigger effect on fatigue than the material alone.
Why does my hand cramp when I chop vegetables for a long time?
Hand cramps usually come from gripping the knife too tightly and using a fist grip, which overworks the small muscles in your hand and forearm. Also, a dull knife forces you to press harder, increasing tension. To prevent cramps, use a pinch grip with a relaxed hold, keep your wrist straight, and take micro-breaks every 10 to 15 minutes. Additionally, ensure the knife handle fits your hand size; if it is too thick or thin, your grip will be strained. Stretching your fingers and shaking out your hands during breaks can also help. If cramps persist, check your knife's sharpness and your overall posture.