How To Organise A Small Kitchen For Easier Cooking
A practical step-by-step guide to how to organise a small kitchen for easier cooking, including preparation, instructions, common issues, tips, and next steps.
How To Organise A Small Kitchen For Easier Cooking
A small kitchen can feel frustrating when every cooking task becomes a game of moving things around. This guide will help you reorganize your space so that essentials are within reach, work surfaces stay clear, and cooking becomes simpler and more enjoyable. You will learn practical steps for decluttering, arranging zones, using vertical space, and maintaining a system that works for daily life. The goal is to reduce clutter, shorten prep time, and make cooking feel easier, even in a compact area.
Fast Answer
- Start by clearing all countertops and cabinets, sorting items into keep, relocate, or donate, then place only daily-use items on counters.
- Create dedicated zones for prep, cooking, and cleaning, with tools and ingredients stored near where they are used.
Before You Start
- Gather three boxes or bags labeled keep, relocate, and donate, plus a trash bag for expired or broken items.
- Empty every cabinet and drawer, wiping surfaces with a mild cleaner to start fresh.
- Measure your countertops, cabinet interiors, and drawer depths to plan storage solutions.
- Review your cooking habits for a week to note which items you reach for most often.
Step-by-Step Instructions
Empty and Declutter Your Kitchen
Take everything out of your cabinets, drawers, and off the countertops. As you remove each item, decide immediately: keep, relocate, or donate. Keep only items you use at least once a month; relocate rarely used appliances, special-occasion dishes, or bulk supplies to high shelves or storage outside the main cooking area. Donate duplicates, gadgets that have only one purpose, and anything broken or expired. Wipe down all surfaces while they are empty. After decluttering, group similar items together—pots with pots, baking pans with baking pans—and place them near where you will use them. Check that you have not kept more than three of any single utensil unless you routinely need them. This step creates a clean slate and reveals the true size of your space.
Create Defined Work Zones
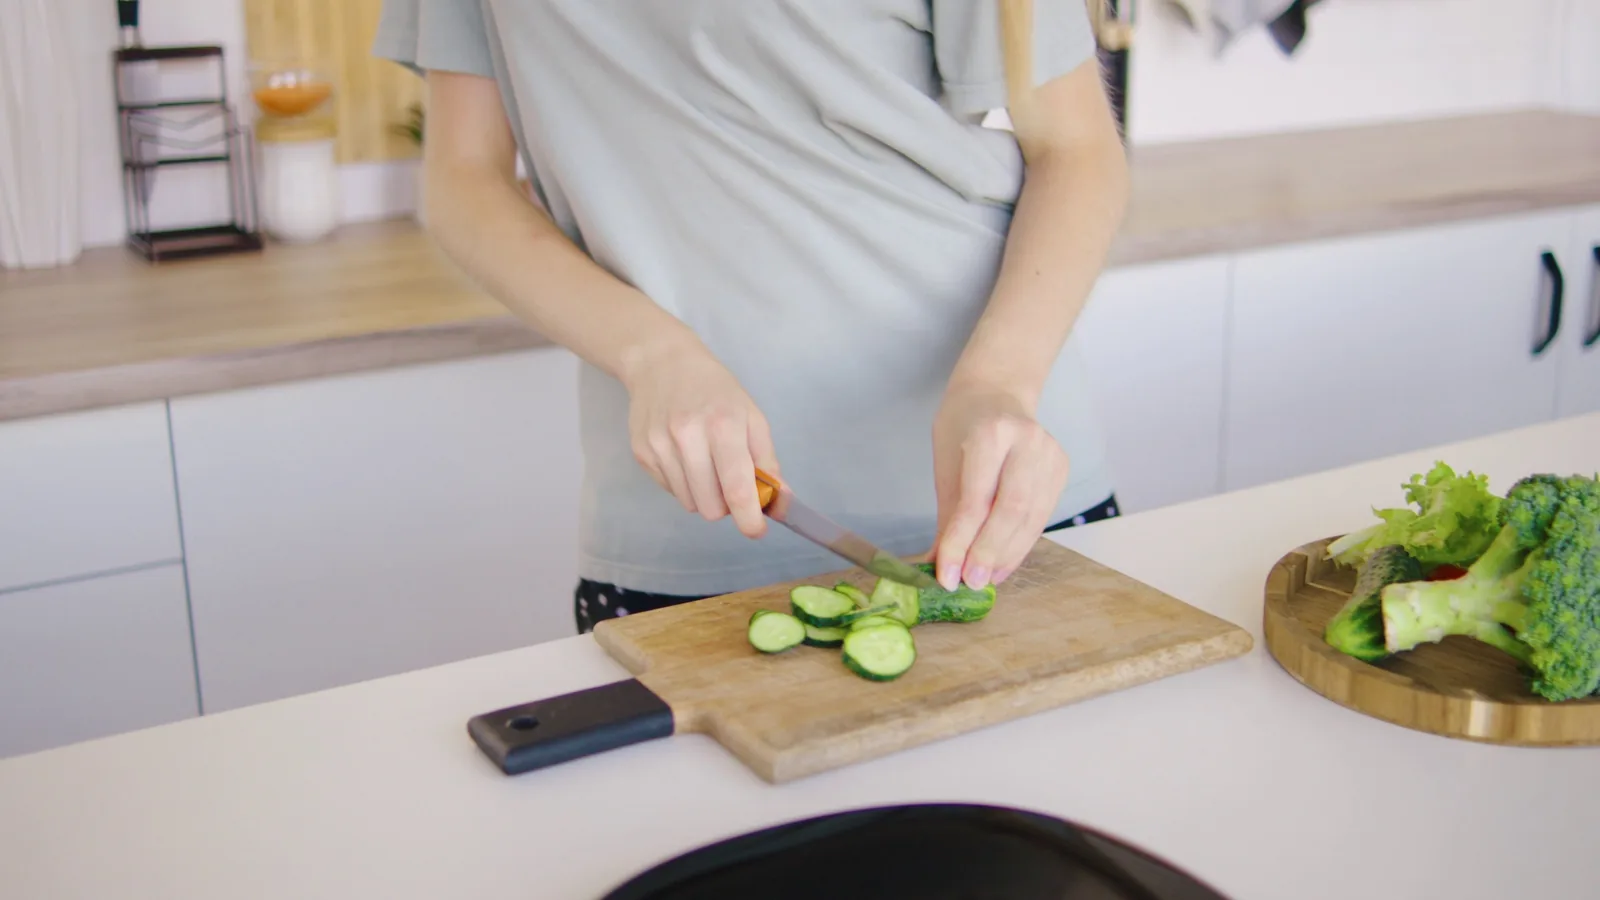
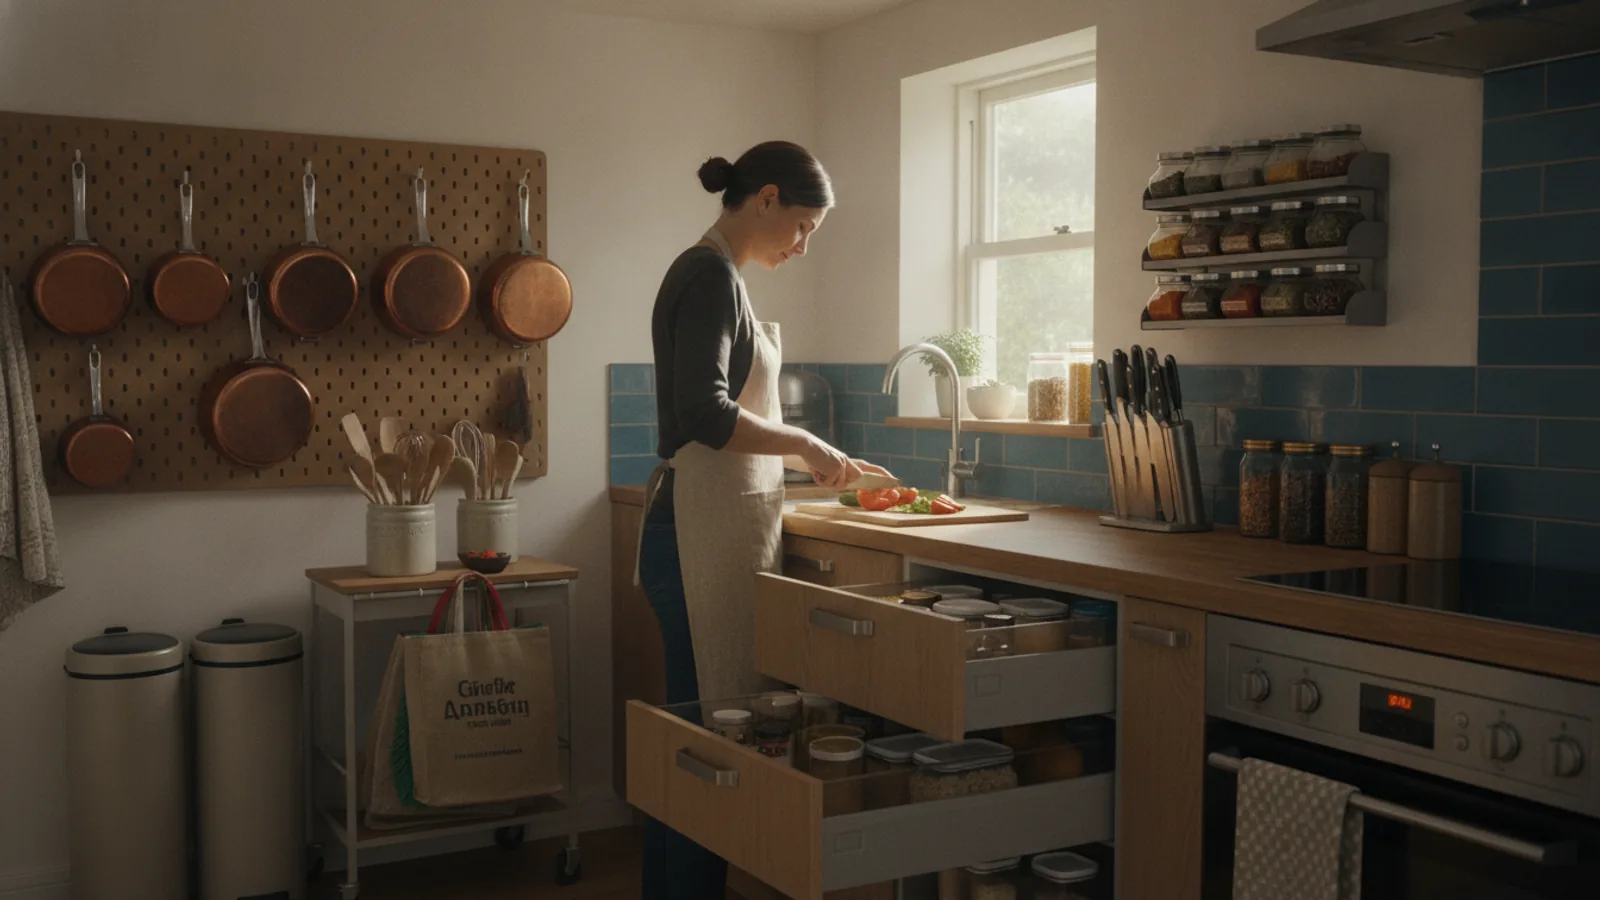
Divide your kitchen into three zones: prep zone, cooking zone, and cleaning zone. The prep zone is a clear counter area with a cutting board and knives, with mixing bowls and measuring tools nearby. The cooking zone is around the stove or hob, holding pots, pans, and cooking utensils like spatulas and tongs. The cleaning zone is near the sink, with sponges, scrub brushes, and dish soap within easy reach. Place each group of items in its zone’s cabinets or drawers, and keep counter space clear in front of each zone. For example, do not store toaster on the main prep counter if you can move it to a side shelf. Check that you can stand in front of each zone and access everything without stretching or moving other tools.
Use Vertical Space for Storage
Look for unused vertical space: the inside of cabinet doors, the wall beside the cooker, and the area above the sink. Install adhesive hooks on the inside of cabinet doors for measuring cups, pot lids, or oven mitts. On the wall, mount a magnetic knife strip or a small rail with hooks for frequently used spatulas and ladles. Use a tiered shelf inside cabinets to double the usable area, and stack plates and bowls vertically with a divider. For shelves, place taller items in the back and shorter items in the front, but keep the most used items at eye level. Check that every item has a spot and that nothing blocks the closing of cabinet doors or drawers.
Organize by Frequency of Use
Place items you use daily—coffee mugs, plates, cooking oil, salt, and your favorite pan—between waist and shoulder height on easy-to-reach shelves. Items used weekly, like mixing bowls or second pots, can go on the next level up or down. Rarely used items, such as a slow cooker or fancy glassware, should live on the top shelf or in a high cabinet. In drawers, use dividers to keep utensils from mixing; put the most used deeper drawers for pans, and use shallow drawers for cutlery and small tools. Check that you can grab your daily items without bending or reaching. This method reduces time spent searching and makes cooking flow more naturally.
Improve Countertop Space
Clear your counters of anything you do not use at least every other day. Small appliances like a blender or toaster that are used once a week should be put into a lower cabinet or on a shelf. Keep only the items you truly need out: a knife block or magnetic strip, a cutting board, maybe a fruit bowl, and a small container for cooking oils and spices near the cooker. Use a paper towel holder that is wall-mounted or under-cabinet to free up surface. If you have a tiny area, consider a foldable cutting board that can be stored vertically. Check that you have at least a 30 by 40 centimeter clear work area for chopping and mixing.
Rethink Cabinet and Drawer Layout
Once your zones are set, assign every remaining item a logical home. In a tall cabinet, put baking sheets and trays vertically in a file organizer so you can slide them out like files. Store pots and pans with their lids separately, either stacked on a shelf or on a hanging rack to save space. In drawers, use adjustable bamboo or plastic dividers to separate utensils, and place the most-used items on the side closest to your main hand. For food storage containers, nest them by size and keep the lids in a separate small container or on the side, so you do not have to dig to find a match. Check that your drawers close without catching and that you can easily retrieve any item without moving three others.
Quick Reference
| Situation | Action | Why it helps |
|---|---|---|
| You cannot find the measuring cups when you begin to cook | Attach a small hook inside the upper cabinet door near your prep zone and always return the measuring cups to that hook after washing. | This keeps them visible and in exactly the same place, so you do not waste time searching. |
| Your cutlery drawer is cluttered with unrelated tools | Remove everything and use a divider tray with slots for forks, spoons, and knives; put any loose gadgets in a separate container. | Dividers prevent items from shifting and help you see each item, so you can grab what you need quickly. |
| Countertops always have piles of mail and small items | Designate a small tray on a shelf or in a drawer for incoming mail and keys, and clear the countertop every evening before cooking. | This prevents buildup and keeps your workspace ready for food preparation, reducing stress and mess. |
Common Issues
- You still feel cramped even after decluttering: Reassess your kitchen layout and consider removing any item that you have not used in the past month. Re-evaluate your zones: maybe your prep zone is too close to the sink, or your cooking tools are scattered. Try rearranging your shelves so that you only keep essential pots and pans within reach. If you have a rolling cart, use it as extra counter space for temporary tasks. Do a second purge of gadgets and appliances that seemed useful but are never used.
- Drawers become messy again after a few days: Install proper drawer dividers that fit your drawer size, and commit to a rule: each time you wash a tool, put it back in its designated slot. Label the slots if needed. Also, avoid buying new utensils unless you remove an old one. Check once a week if anything has migrated out of its spot and return it promptly.
- Pots and pans take up too much cabinet space: Store them in an under-sink area or on a low shelf, using a pan rack or vertical divider. If you have a pot lid, place it in a separate rack on the inside of the cabinet door. Alternatively, hang a wall-mounted pot rack if your kitchen has the wall space. Keep only the sizes you use at least once a month and give away the rest.
Advanced Tips
- Install a pull-out shelf inside your lower cabinets to avoid reaching into dark corners, making it easy to see all your pots and pans at a glance.
- Use a lazy Susan in corner cabinets or on a shelf to bring items to the front, so nothing gets lost behind others.
- Label your shelves or containers with the item categories, such as baking supplies or grains, to make it simpler to find and return items.
Final Checklist
- Clear every countertop and wipe down all surfaces; only daily-use items remain out.
- Sort all items into zones: prep, cooking, cleaning, and then place them in assigned cabinets or drawers.
- Check that you can move between zones without obstruction and that all cabinet doors open fully.
- Spend one week cooking as usual, then adjust any item that is out of place to a more convenient spot.
FAQ
How can I store a blender in a small kitchen so it is easy to use?
Put the blender on a shelf that is slightly above waist level, but not too high to lift. If you use it rarely, store it in a lower cabinet and plug it in only when needed. Alternatively, keep it on the counter only if you use it at least weekly. Use a small cart to hold it and other appliances, so you can roll it out when needed.
What is the best way to arrange spices in a tiny kitchen?
Use a tiered shelf or a lazy Susan inside a deep cabinet, so all spice jars are visible in one layer. If you have a drawer, put a spice organizer with dividers. Or mount a magnetic spice rack on the wall or the side of the refrigerator. The key is to keep them near your prep zone and always return them after use.
How do I keep my counter clear when I have limited storage space?
Store any appliance you do not use daily in a cabinet or on a shelf. Use wall-mounted paper towel holders and knife strips. For cutting boards, use a slotted vertical holder in a cabinet. Consider a rolling cart that can be tucked away when not in use. Aim to have only three to five items on the counter at all times.