How To Plan A Kitchen Knife Routine That Makes Prep Less Tiring
A practical step-by-step guide to how to plan a kitchen knife routine that makes prep less tiring, including preparation, instructions, common issues, tips, and next steps.
How To Plan A Kitchen Knife Routine That Makes Prep Less Tiring
Planning a kitchen knife routine can reduce fatigue and make food prep more enjoyable. This guide explains how to set up an efficient workflow, maintain a sharp blade, and use proper cutting techniques. By organizing your station, choosing the right knife for each task, and moving with purpose, you can cut down on wasted motions and strain. Learn how to prepare your space, practice safe grips, and develop a rhythm that feels natural. Whether you are cooking daily or hosting a big meal, these tips help you work smarter, not harder. The goal is to create a simple, repeatable system that saves energy and keeps your hands comfortable.
Fast Answer
- Set up your cutting board at a comfortable height, keep your knife sharp, and group ingredients by type to reduce reaching and awkward angles.
- Use a grip that lets the knife move from your shoulder and elbow, not just your wrist, and take short breaks to stretch your hands.
Before You Start
- Clear your counter and place a damp towel under your cutting board to stop slipping.
- Choose a chef's knife for most tasks; it should feel balanced and fit your hand.
- Sharpen your knife before you start; a dull blade makes you press harder.
- Put a bowl for scraps and another for finished ingredients within easy reach.
Step-by-Step Instructions
Set Up a Stable Cutting Station
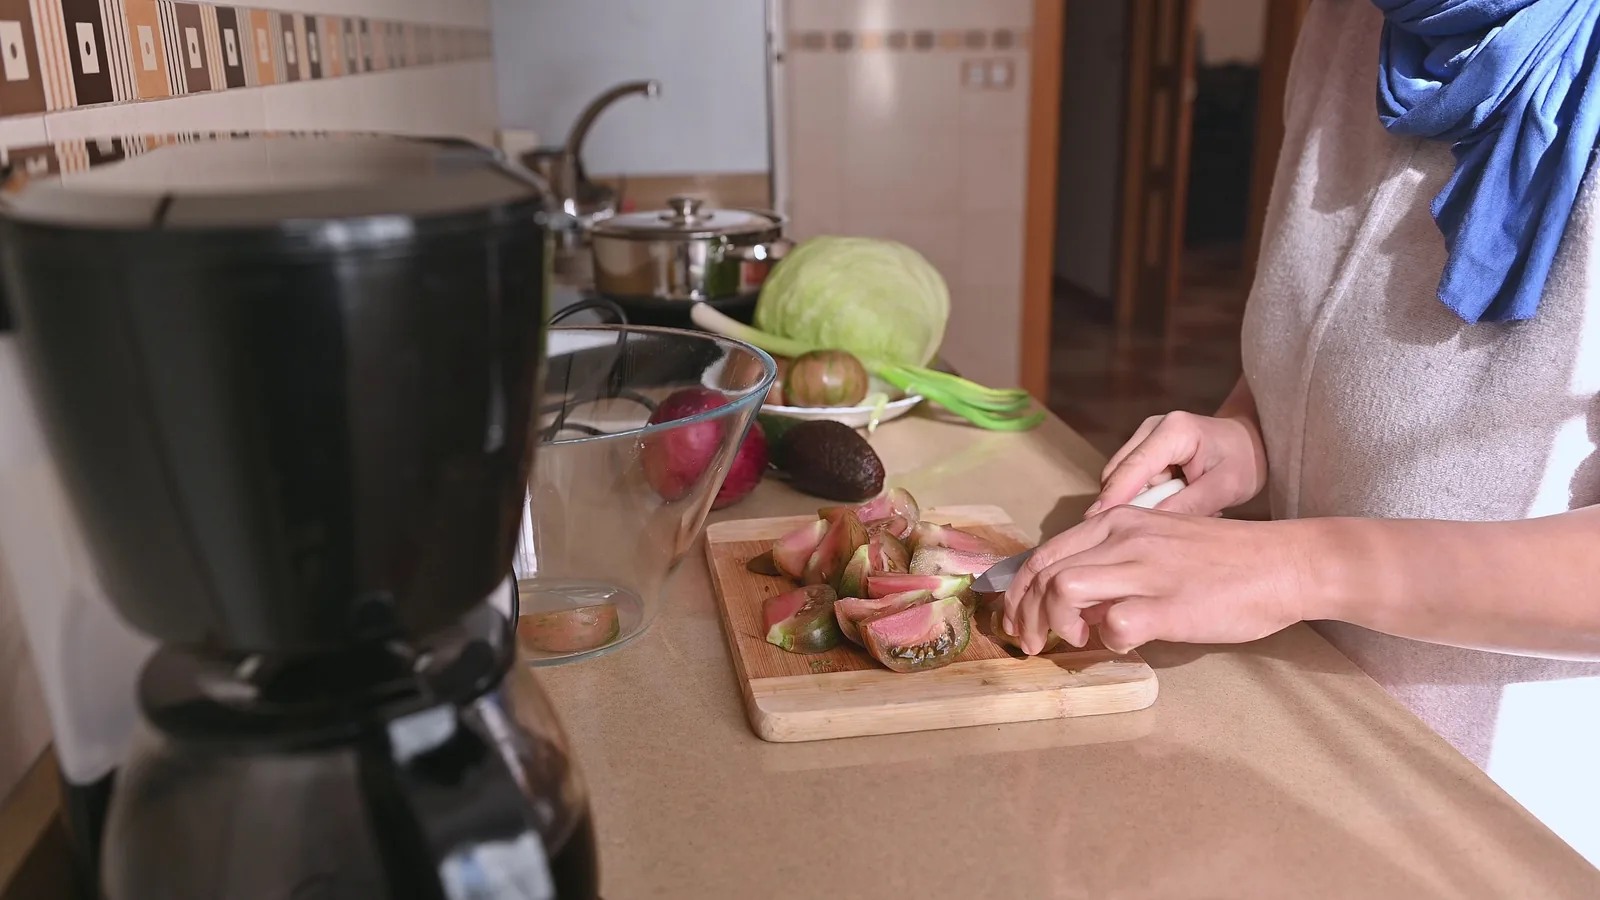
Start by clearing your counter so you have a large, empty zone for prep. Place a damp paper towel or a thin cloth under your cutting board; this stops the board from sliding as you work. A stable board prevents sudden movements that can throw off your rhythm and make you grip the knife tighter. Position the board so the place where you are cutting is directly in front of your dominant hand and close to the edge of the counter, but not hanging off. If the board is too high or low, you will lean and strain your back. Adjust your counter with a step stool or raise the board with a cutting board stand, if needed. Check that the board is level and does not wobble. This setup helps you keep your shoulders relaxed and your wrists straight, which reduces fatigue over a long prep session. Take a moment to test the board by pressing down on it; it should not move.
Select and Inspect Your Knife
Pick a knife that matches the task and feels comfortable in your hand. For most prep, a chef's knife with an 8-inch blade works well. Hold the handle and check the weight distribution; the knife should feel balanced, not heavy in the handle or blade. Run your thumb lightly along the edge (not across it) to feel for nicks or dull spots. A sharp knife should have a fine, even edge. If the blade is dull, it will require more force and cause slipping. Sharpen with a whetstone or have it professionally sharpened. This step is crucial because a sharp blade cuts through food easily, reducing strain on your wrist and forearm. Also check the handle for cracks or looseness; a loose handle is dangerous. After inspecting, wash the knife with warm soapy water, rinse, and dry it. Your knife is now ready for use. Using a knife that is clean and sharp makes every cut more efficient.
Use a Proper Grip and Hand Position
Hold the knife handle with your dominant hand, placing your thumb and index finger on opposite sides of the blade just above the handle. This pinch grip gives you control and lets the knife pivot naturally. Avoid gripping the handle like a fist, as that restricts your wrist. With your other hand, form a claw: curl your fingertips in and tuck your thumb under your knuckles. Rest your knuckles against the side of the blade and guide the food with your fingertips curled back. When you cut, move the knife in a rocking motion, keeping the tip on the board and lifting the back of the blade. The motion should come from your shoulder and elbow, not just your wrist. This distributes the effort across larger muscles and reduces fatigue. Always keep the blade perpendicular to the board and never lift the tip too high. Check that your fingers are tucked and your knuckles lead. This grip protects your fingers and gives you precise control.
Arrange Ingredients by Type and Order
Group your ingredients into piles or bowls based on what they are and how you will use them. For example, keep onions and garlic together, root vegetables separate, and greens in one spot. Order them by hardness or by the order you need them in the recipe. Hard vegetables like carrots and potatoes require more pressure, while soft herbs are delicate. Start with 'hard' items and move to 'soft.' This prevents you from switching knives or adjusting your grip too often. Also, think about whether you need to peel or wash anything; do that before cutting. Place the cutting board in the center and keep your bowls within arm's reach. Use a small bowl for scraps and a larger bowl for finished pieces. This organization reduces unnecessary reaching and walking. Check your arrangement: everything you need should be within a forearm's length without stretching. This layout keeps your focus on the food and minimizes wasted motion.
Develop a Rhythmic Cutting Pattern
Once you begin cutting, focus on a smooth, rhythmic motion. Slice continuously, without stopping to reposition the food unnecessarily. For example, with an onion, cut off the top, peel, then halve and slice in a consistent direction. Use the knuckle of your guiding hand as a guide, moving the food forward with each cut. Keep the knife tip on the board for most cuts, especially for chopping, and use a rocking motion. If you need to dice or mince, gather the pieces and use a slicing motion. Work at a steady pace that feels comfortable, not fast. Take a short pause every few minutes to shake out your hands and straighten your fingers. This prevents cramping. Also, gather the cut pieces into a neat pile before you resume. Check your work: pieces should be roughly uniform in size so they cook evenly. This rhythmic approach reduces unnecessary effort and makes prep more efficient.
Maintain Your Knife and Clean Up
After you finish cutting, immediately clean your knife. Hand wash it with warm water and mild dish soap, rinse, and dry with a towel. Do not put your knife in the dishwasher, as the harsh detergent and water jet can damage the edge and handle. Store the knife in a block, on a magnetic strip, or in a blade guard, never loose in a drawer. Check the blade for any residue, and oil the handle periodically if it is wood. Then, clean your cutting board and prep area. Wipe counters and sweep or wipe any spills. A tidy workspace helps you stay organized for the next meal and prevents accidents. Finally, do a quick visual check: the knife has no food residue, the edge is intact, and everything is in place. This routine takes just a few minutes but prolongs the life of your knife and keeps your kitchen safe. Proper maintenance also ensures your knife is ready for the next time.
Quick Reference
| Situation | Action | Why it helps |
|---|---|---|
| Your cutting board slides on the counter while you are chopping. | Stop immediately and place a damp paper towel or a thin rubber mat under the board, and press down on the board to check that it stays firm. | A stable board prevents your knife from slipping and reduces the need to grip the handle tightly, which cuts down on hand fatigue and helps you cut safely. |
| You feel strain in your wrist or forearm after a few minutes of cutting. | Take a break, shake out your arms, and switch to a pinch grip on the knife with your thumb and index finger, and try to move from your shoulder more. | Using a pinch grip lets the knife pivot and uses larger arm muscles, which spreads the workload and eases the pressure on your wrist and forearm. |
| Your knife seems dull and you have to press harder to cut through vegetables. | Use a honing rod to realign the edge after every use or two, and if that doesn't help, sharpen the blade with a whetstone. | A sharp knife cuts with less downward force, so you use less physical effort and are less likely to lose control and injure yourself. |
Common Issues
- Your cutting board moves around while you cut, making it hard to keep a steady rhythm.: Place a non-slip mat or a damp cloth under the board. Check that the board is completely dry on top and press down on it to test stability. If it still moves, consider buying a heavier board with rubber feet.
- Your hand gets tired quickly and you lose your grip on the knife.: Switch to a pinch grip on the blade right above the handle. This gives you better control and reduces the strain on your hand. Also, hold the knife more loosely, but keep a firm grip. Take short breaks to stretch your fingers and hands.
- You are cutting uneven pieces, and some burn while others stay raw when cooking.: Focus on moving your guiding hand forward with each cut at the same distance. Use your knuckles as a guide and keep the knife tip on the board. Slow down and make each slice the same thickness. Practice on a vegetable like a carrot to build a steady rhythm.
Advanced Tips
- Use a cutting board with a slight indentation or a groove to catch juices from meat or juicy produce, which keeps the area cleaner and reduces slips.
- For repetitive slicing, use a gentle forward push while rocking the knife; this uses momentum instead of force, and let the knife do the work.
- Try a horizontal slicing motion for flat items like mushrooms or cucumbers, which puts less stress on your wrist than a straight downward chop.
Final Checklist
- Clear your counter and place a damp towel under the cutting board to prevent sliding.
- Select a sharp chef's knife that feels balanced and use a proper pinch grip.
- Arrange ingredients in small bowls by type and within arm's reach.
- Clean and store your knife right after prep, and wipe down the work surface.
FAQ
How often should I sharpen my kitchen knife?
You should hone your knife with a honing rod every time you use it, or at least every few uses, to keep the edge aligned. For actual sharpening, a good rule is to sharpen with a whetstone every few months, depending on how often you cook. If you find that you have to press harder to cut through a tomato or an onion, that is a sign that the knife needs sharpening.
What is the best way to hold a chef's knife to avoid hand fatigue?
The best grip is a pinch grip: place your thumb and index finger on the sides of the blade just above the handle. This gives you excellent control and reduces the need to grip the handle tightly. Hold the handle with your other fingers, but keep your hand relaxed. This grip lets the knife pivot smoothly and uses your shoulder and elbow, which are stronger and easier on your wrist.
Why does my hand get tired when I chop vegetables for a long time?
Hand fatigue often comes from using your wrist too much and gripping the knife tightly. A proper pinch grip and a rocking motion that comes from your elbow and shoulder will reduce strain. Also, make sure your knife is sharp; a dull blade makes you press harder. Take short breaks and stretch your hands to prevent cramping. Your stance and board height also matter, so keep a relaxed posture.